1 - Hello World: render a 3D model
This first tutorials introduction Bonzai Engine api.Start by getting the last dev release, you'll need the two files. Extract them and run the installer jars.
Open any ide and create a new project then link the Bonzai Engine jar bin/bonzaiengine.jar and an OpenGL binding: jogl or lwjgl (both api are distributed in /lib/third-party/). You can also optionally link thirdparty jars you may want/need to use in the future: thirdparty/lzma/lzma.jar, thirdparty/lzma/lzma-os.jar and thirdparty/niftygui/theme-niftygui.jar.
The tutorials uses 3d models which you can get by extracting /bin/application/bonzaiengine-tutorials.jar. Source code of the tutorials are available in the distribution in tutorials/src and at the bottom of each tutorial. Copy the sources in your project.
You are now ready to run this tutorial and all the following.
So let's see what you'll learn with this first tutorial:
* Show a standalone windows using framework (Scene, ISceneViewRenderable)
* AssetManager: handle model, motion, texture, shader loading (including synchronous and asynchronous loading, download, ...)
* RenderOptions and LightManager to specify parameters of the renderer (RendererPipeline)
* Frustrum culling for visibility
* Matrix stack: GLc.getModelview() and GLc.getProjection()
* Camera for easy model manipulation and preview (VolumeManipulator)
* Fullscreen and windowed mode
* IInput: mouse and key inputs
Windows creation
The windows is setup and creation in the main method. DisplayCapabilities is optional and used here to request antialiasing, but it can be used to control other buffer parameter (color, depth, stencil, accum) and vsync (for more details see the javadoc).
ApplicationSettings jobs is to create a window/applet (IApplication) and an OpenGL component (ISceneTarget). Once initializing, it will create and bind an IScene object to the OpenGL component for rendering.
IScene is the interface between an application and OpenGL implementation and platform (similar to jogl's GLEventListener). Scene implementation adds some usefull utility such as timer, key/mouse input and SceneView (picking support, opengl matrix tracking).
The minimal code for creating the window with an OpenGL component rendering a black area is:
Model loading
Now we've seen the most boring stuff, we'll focus on loading a model, texture and shader.
The first thing to do is to create an AssetManager which will manage the loading of all assets. TextureList will receive texture to load, specifying setReadTextureAsync will automatically read texture in an asynchronous way and they will be uplodaed to OpenGL in render loop. In a similar way, a ShaderList is created with a shader generator to automatically generate shaders for the model.
Loading options of a 3d model are specified with ModelReaderSettings. Here we're specifying the model path and default lighting and animation.
Here's summarized model loading
OpenGL state
The basic OpenGL state initialization in the method init. The reshape method adjust the projection aspect ratio when the viewport is resized.
The method render is the rendering loop. We're doing the usual buffer clearing (glClear), set the various matrices. Note the engine using it's own matrix stack (OpenGL matrix stack is deprecated and removed from recent version of OpenGL)
You should also notice the line "lights.bind". It there to send the light properties to OpenGL or the shader. We'll see more about it in next paragraph.
Rendering
Finally, the actual model rendering !
RenderOptions object is used to specify the various options such as lights, render mode, picking, ... Here we are using the default options and specify a Light
and in the rendering loop, the model animation is updated and model is rendered:
Conclusion
We hope you have enjoyed this tutorial. It may looks a bit complicated for beginner, but it's in fact not that hard when you'll get used with the api.
Any feedback is welcome to improve this tutorial.
If you wish to use a different model, just replace the path in ModelReaderSettings with any absolute or relative path to your own model.
This tutorial can be a good starting point for testing your model and playing with the engine. Model viewer can also be usefull for studying the model properties.
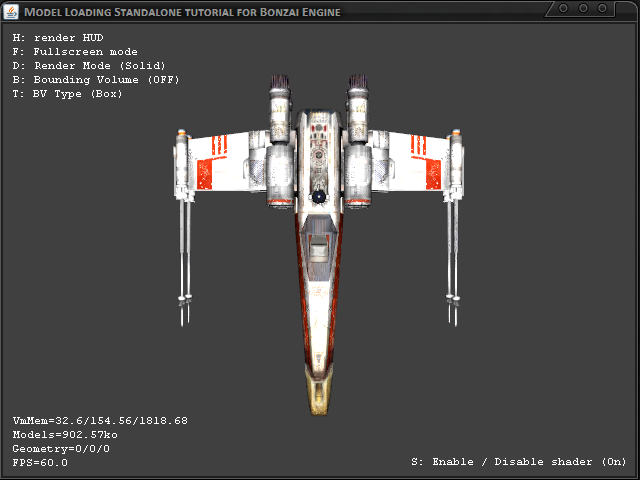
Preview
Source Code
Bonzai Engine - bonzaiengine.com - Copyright © 2007-2017 Jérôme Jouvie - All Rights Reserved.
Bonzai Engine™ and Bonzai Engine™ logo are trademarks of Jérôme Jouvie
Bonzai Engine™ and Bonzai Engine™ logo are trademarks of Jérôme Jouvie